
How to deploy LogChimp on Railway?
Guide to deploying your LogChimp site successfully on Railway
Warning
By default, LogChimp will deploy directly from the master branch of logchimp/logchimp. You can always create a custom Railway template to deploy the required LogChimp version.
There are many ways to install LogChimp. With Railway, you can get started with just a few easy steps. Click the button[^1], enter the environment variables, and hit deploy.
The first step is to deploy the LogChimp APIs, followed by the LogChimp Theme.
APIs
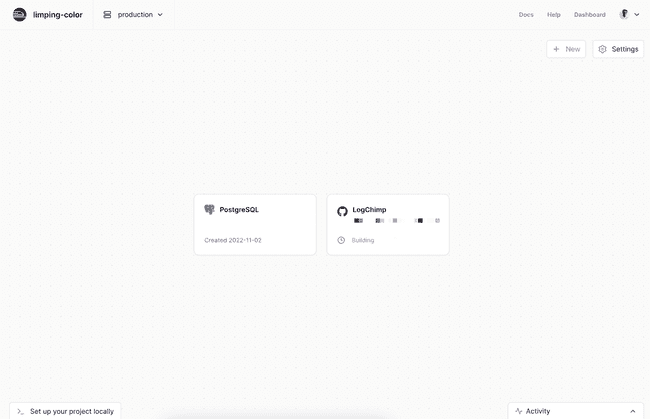
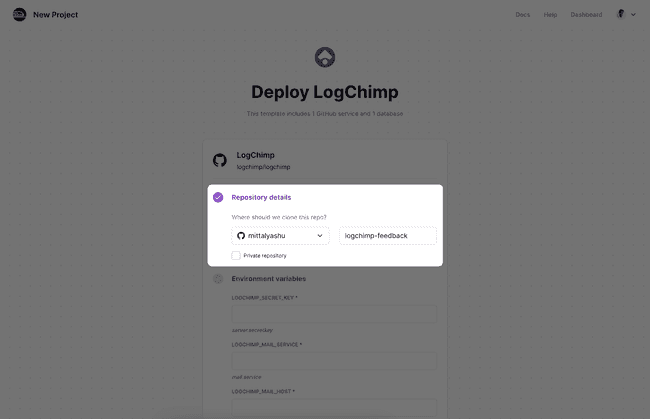
Clicking "Deploy on Railway" will automatically provision a PostgreSQL database and deploy a LogChimp backend for you.

Enter the required environment variables and click Deploy.
NOTE: It is required to enter SMTP credentials to receive emails. Without them, LogChimp may not function properly.

Railway will automatically provision a PostgreSQL database and deploy the LogChimp API service for you.
Theme
Now it's time to deploy the theme.
The theme is built as a generated SPA (single-page application), making it easier to deploy on any CDN (content delivery network).
- AWS Cloudfront
- Vercel
- Netlify
- Render
Just to name a few...
Here, we'll use Vercel as an example to deploy the theme. Feel free to choose any other option of your choice.
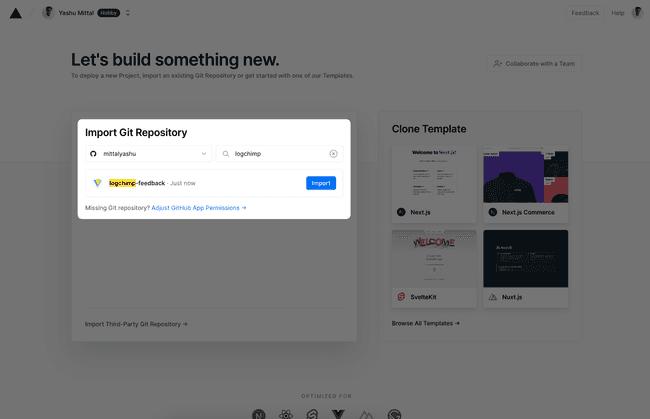
Go to Vercel dashboard and create a new project. Select the Git provider where you cloned the LogChimp repository using Railway.
Search with the same repository name used in Railway and click import.
There is no requirement for any configuration. Vercel will automatically detect the framework presets and apply base configuration for deployment.
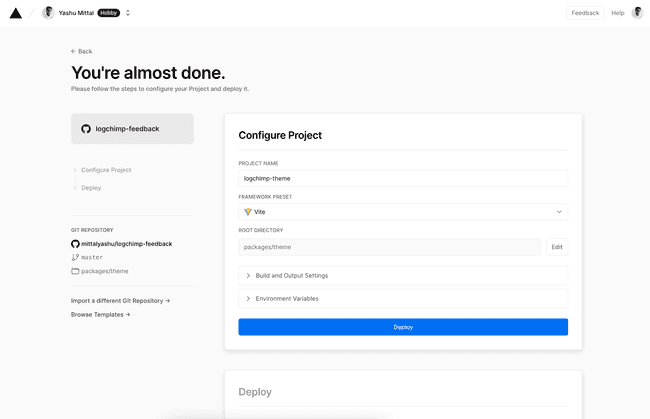
But feel free to look around and tweak the configuration accordingly and hit Deploy.

The last step is to add an API rewrite for your client app in your source code by creating a new file vercel.json in the packages/theme directory.
{
  "rewrites": [
    {
      "source": "/api/:path*",
      "destination": "https://<subdomain>.up.railway.app/api/:path*"
    }
  ]
}
Warning
Replace the part of the destination URL https://<subdomain>.up.railway.app with the LogChimp API URL from Railway.
And there you go... 🚄
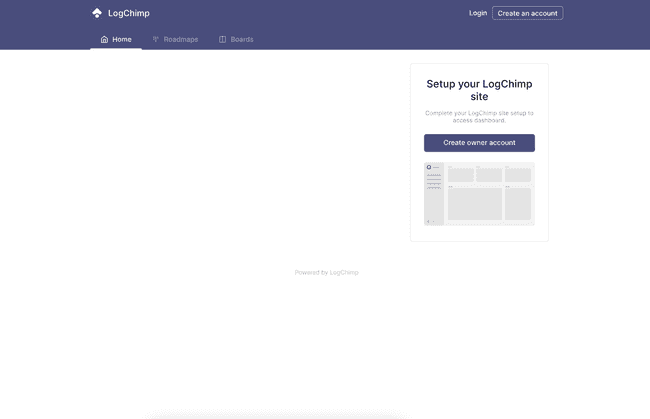
Your LogChimp site is ready to accept your customers' feedback with ease.
FAQ
How to upload a custom Logo?
Currently, LogChimp doesn’t have integration with third-party services to upload images and only supports the filesystem. The default filesystem of Railway is ephemeral, meaning the data isn’t persisted across deploys and restarts.
The trick is to directly update the LogChimp site logo URL from the database. Upload your logo to any image hosting service (for example, AWS S3 bucket) and grab the image URL.
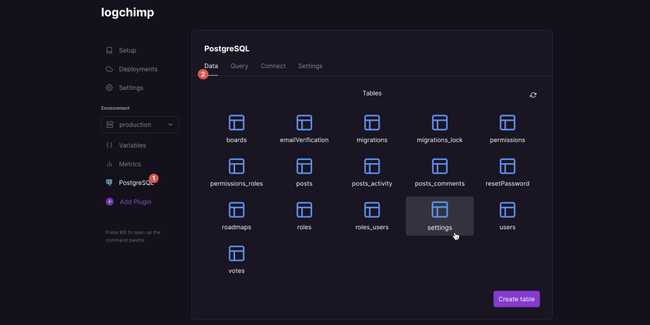
-
Go to the PostgreSQL database > Data tab > click the "settings" database table
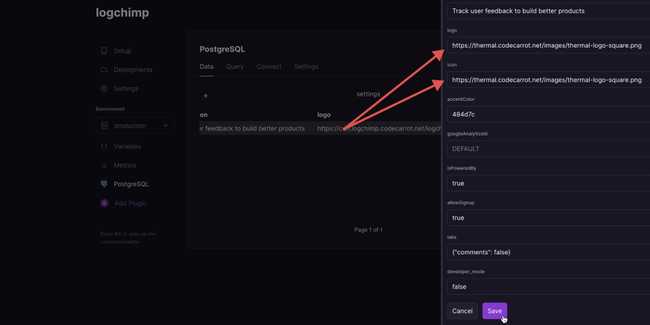
-
Click on the first row in the "settings" table. That should open that row in edit mode. Paste the image URL you've copied and click the save button.
[^1]: The above link contains a referral code which gives referral credits to @mittalyashu.