
How to deploy LogChimp on Render?
A comprehensive guide for deploying LogChimp on Render with just a click.
Table of Contents
- v0.6
v0.6
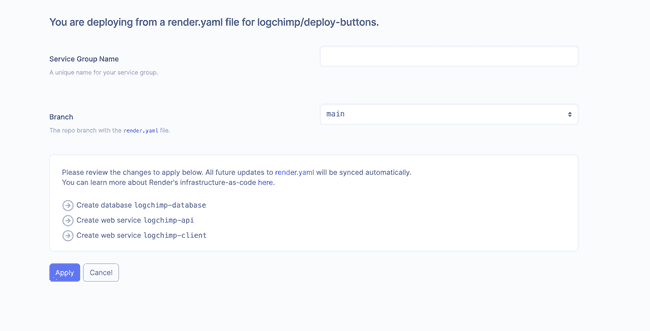
Clicking the "Deploy to Render" button will redirect you to the Render blueprint confirmation page.

Tip
Please review the changes before deploying the following services.
Click the "apply" button, 🎉 Voilà!
Configuration
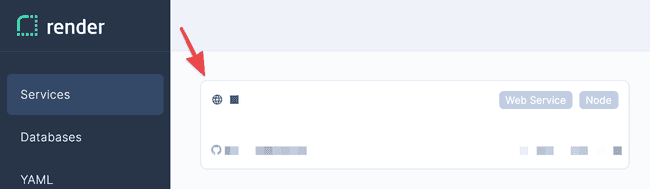
logchimp-api
Now, the deployed services need to be connected.
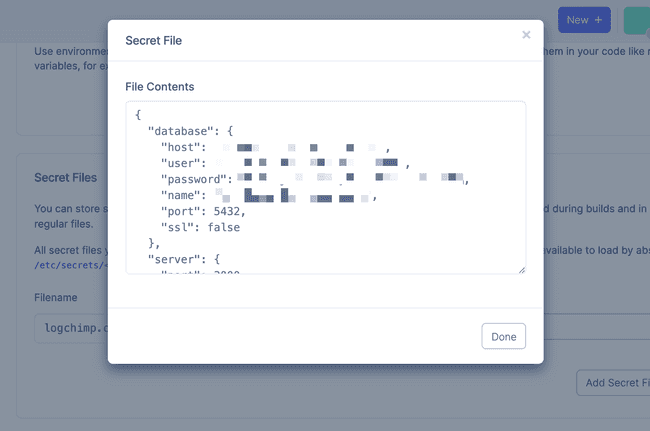
On your machine, you need to use the logchimp-cli tool to generate configuration.
In your Render dashboard, open logchimp-api, go to the Environment tab, and scroll to the Secret Files section.
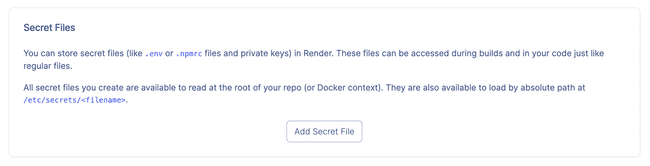
Click "Add Secret File", at filename enter logchimp.config.json, paste the LogChimp configuration in Contents.
NOTE: It is required to enter SMTP credentials to receive emails. Without them, LogChimp may not function properly.
Click "Save", scroll to the top.
Copy the deployment URL, for example, https://logchimp-api.onrender.com.
logchimp-client
You're doing great 💪, just one more step.
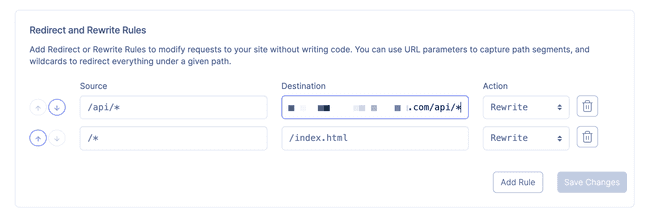
Open logchimp-client, go to Redirects/Rewrites tab.
Click "Add rule", enter /api/* as the source, and paste your logchimp-api URL as the destination https://logchimp-api.onrender.com/api*.
Warning
Make sure /api/* source is at the top.
Click "Save Changes".